Access to Personal Account
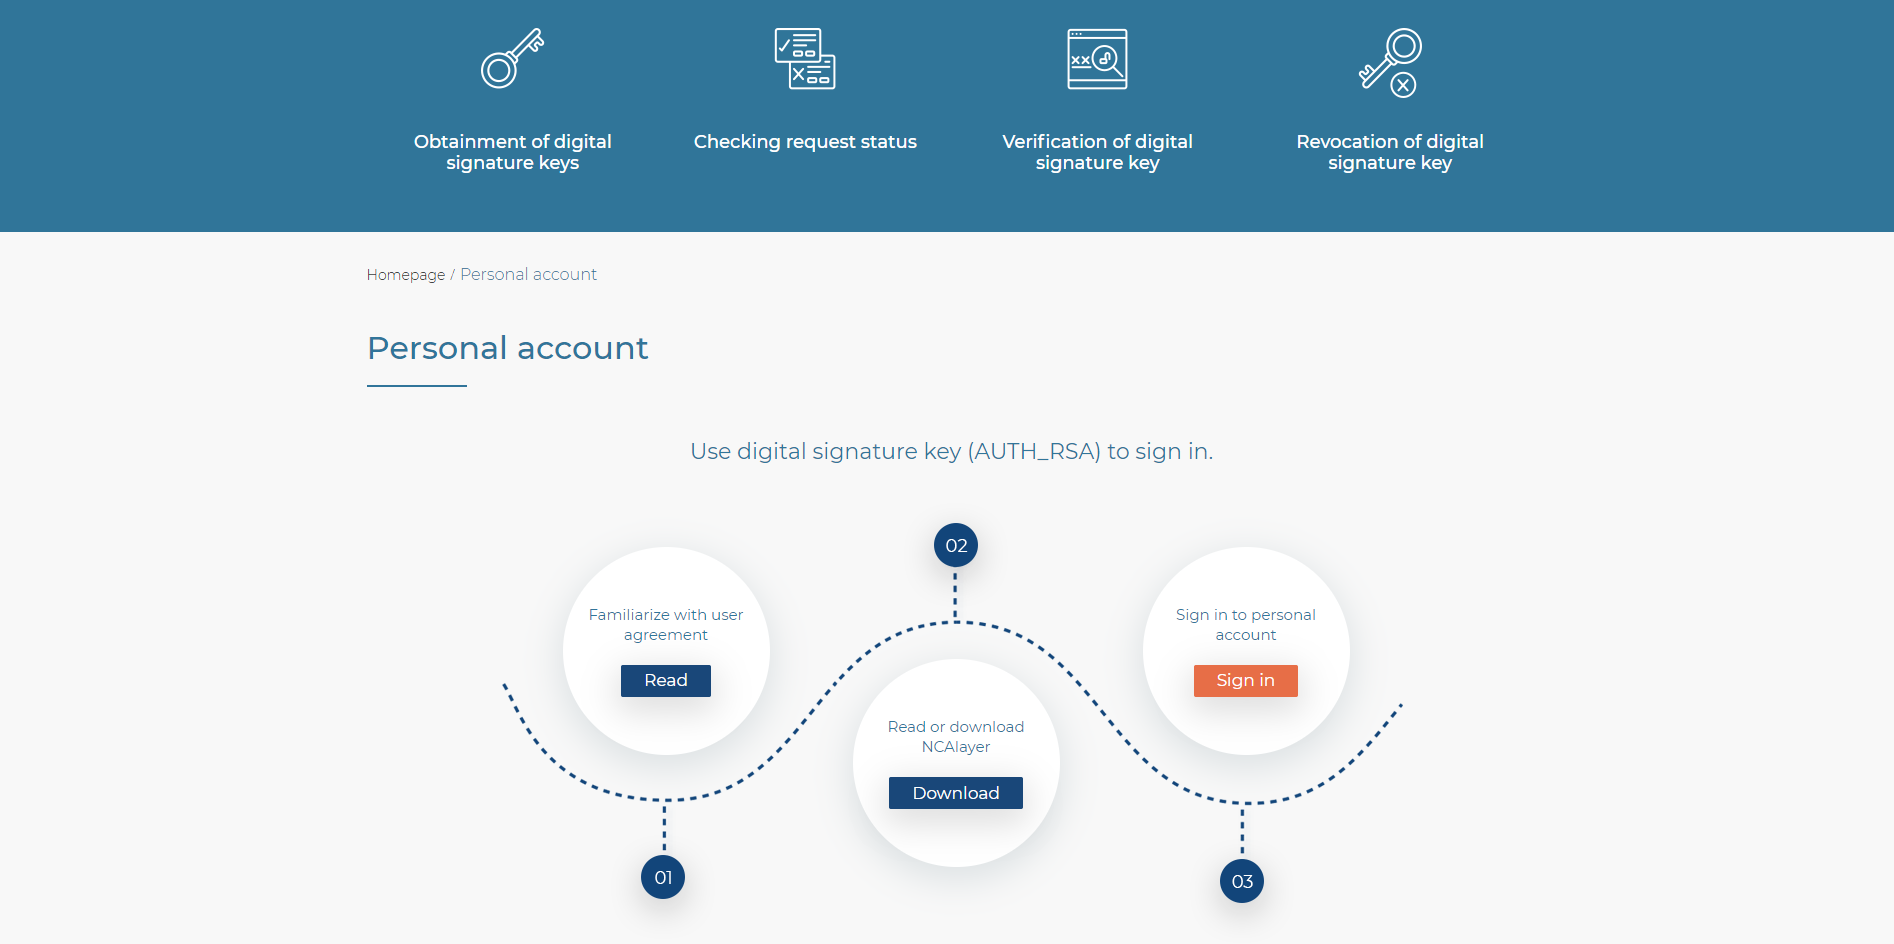
On the homepage at NCA website, you need to go to “Personal Account” section, then sign in to your Personal Account.
Sign in to your Personal Account.
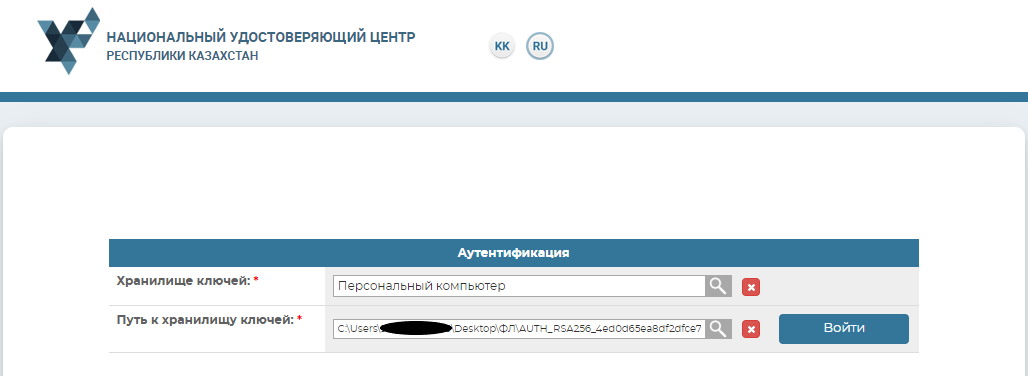
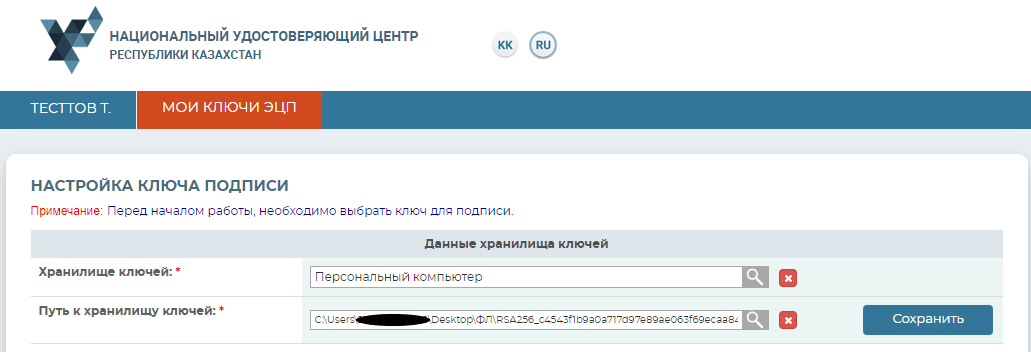
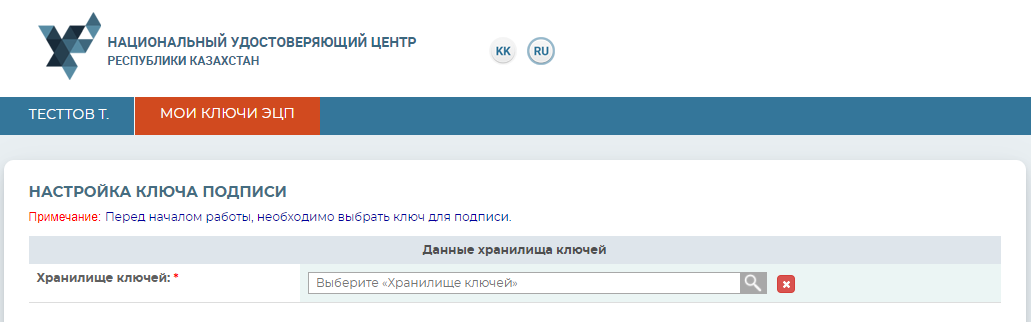
In the window opened, you should select the “Keys Repository” from the list containing: Personal Computer, ID card, eToken PRO (Java, 72K), JaCarta, Kaztoken, AKey.

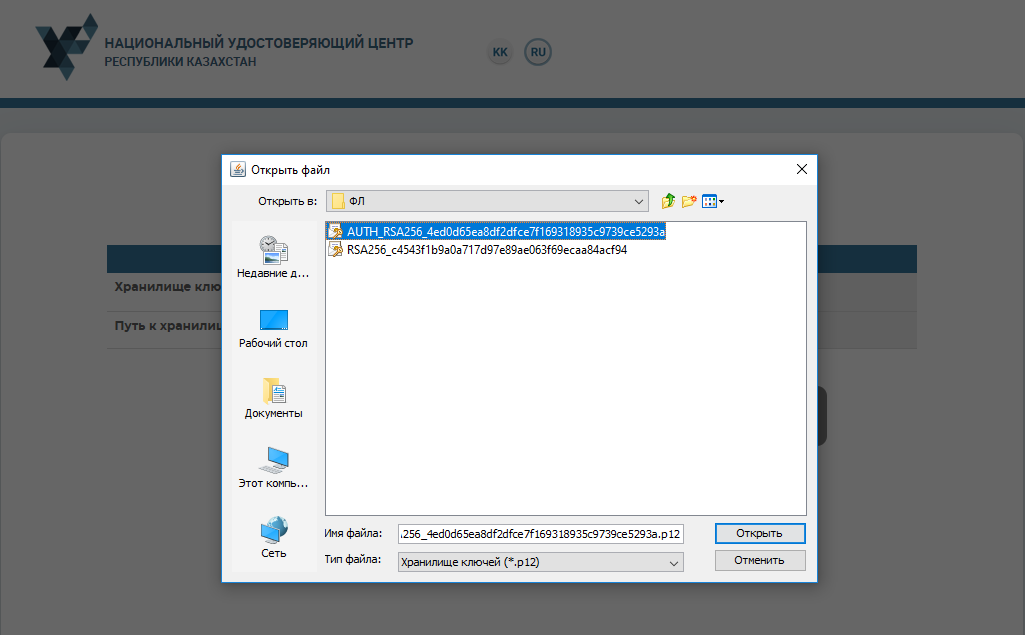
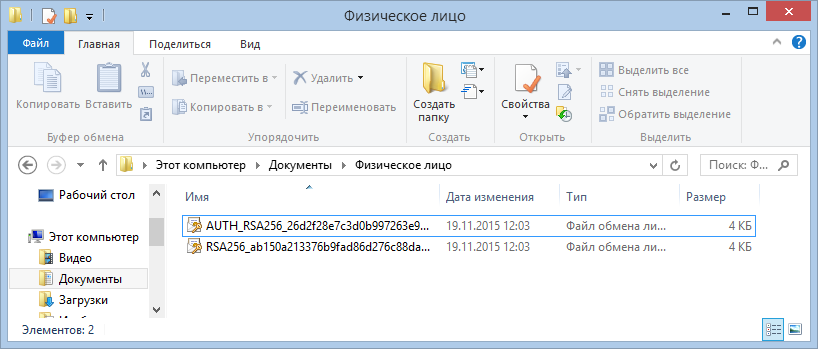
In the “Path to keys repository” field, you need to indicate the path to where your certificates are contained. Select the authentication key (AUTH_RSA) and press the “Open” button.
Press the “Enter” button.
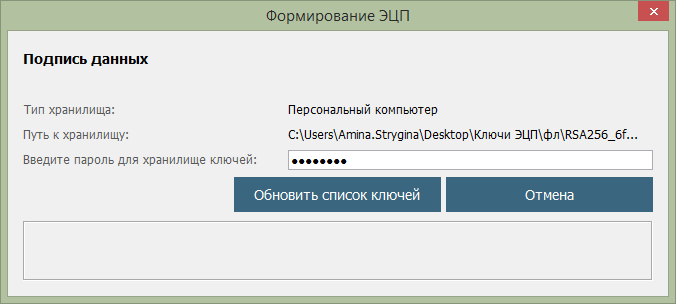
In the emerging dialogue window, enter your password for keys repository.
NB: The default password for Kaztoken: 12345678, eToken PRO (Java, 72K), JaCarta, AKey: 1234567890.
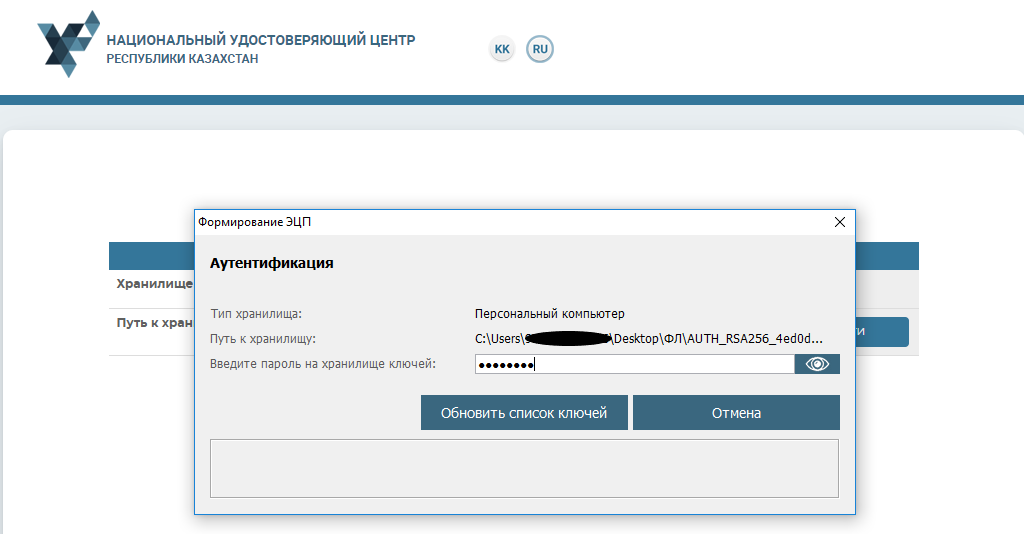
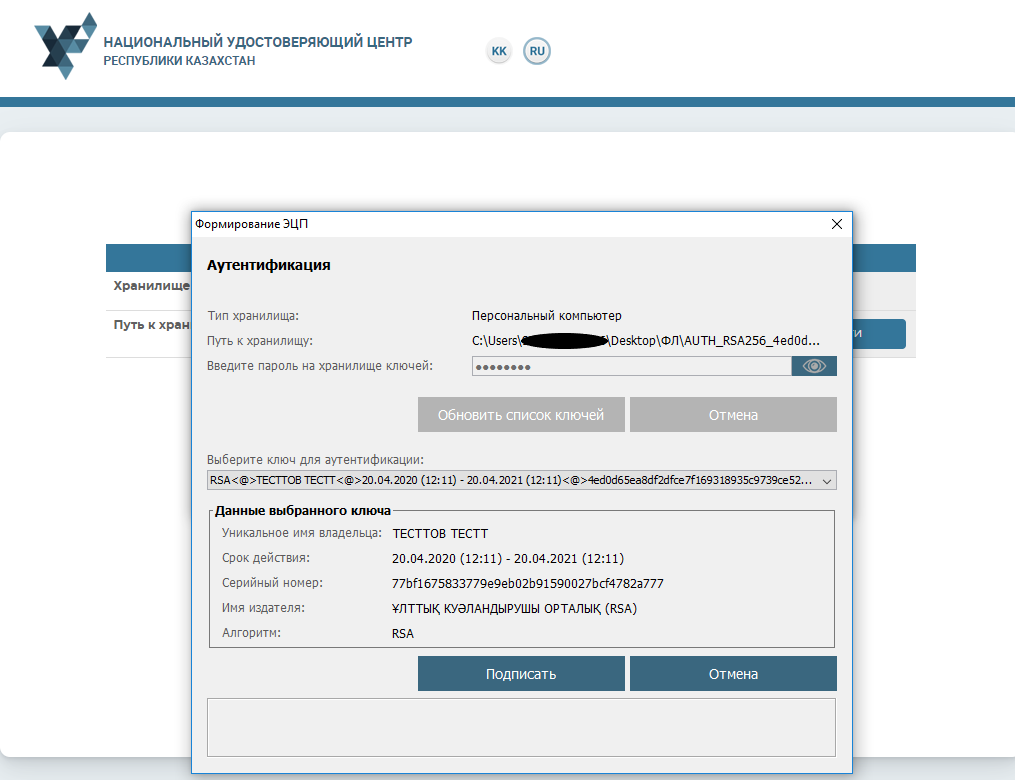
Press the “Update the list of keys” button. If the password is correct, then the authentication key will be displayed. Press the “Sign” button.
Welcome to user Personal Account.
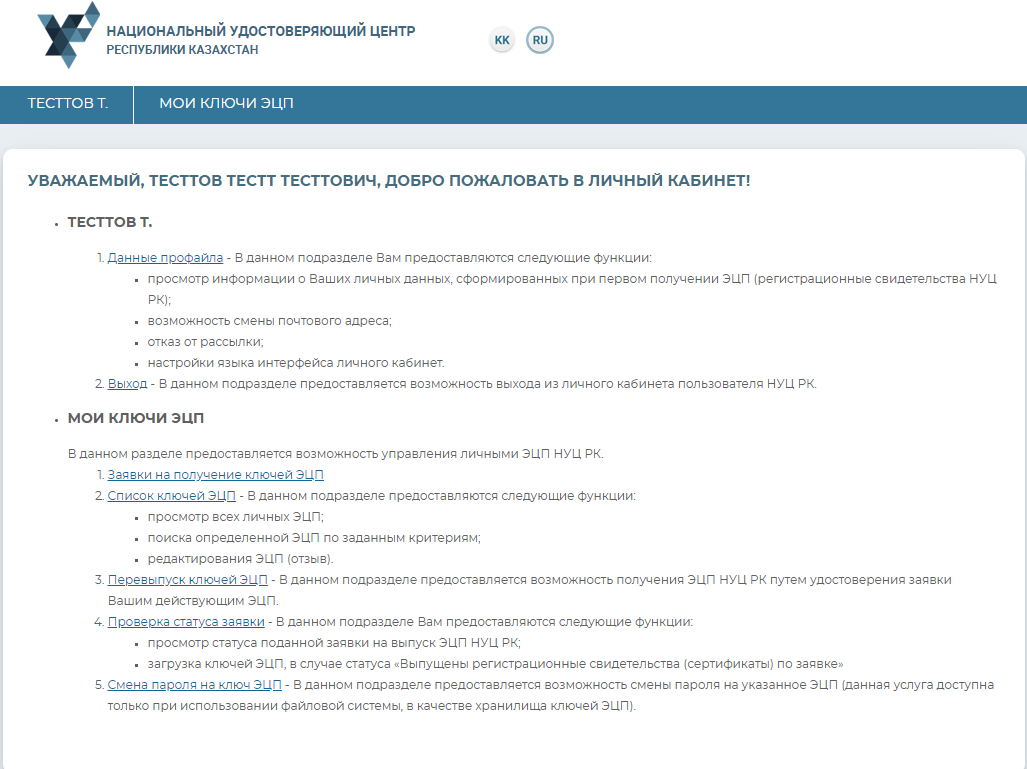
Working in Personal Account
“Family Name” Menu
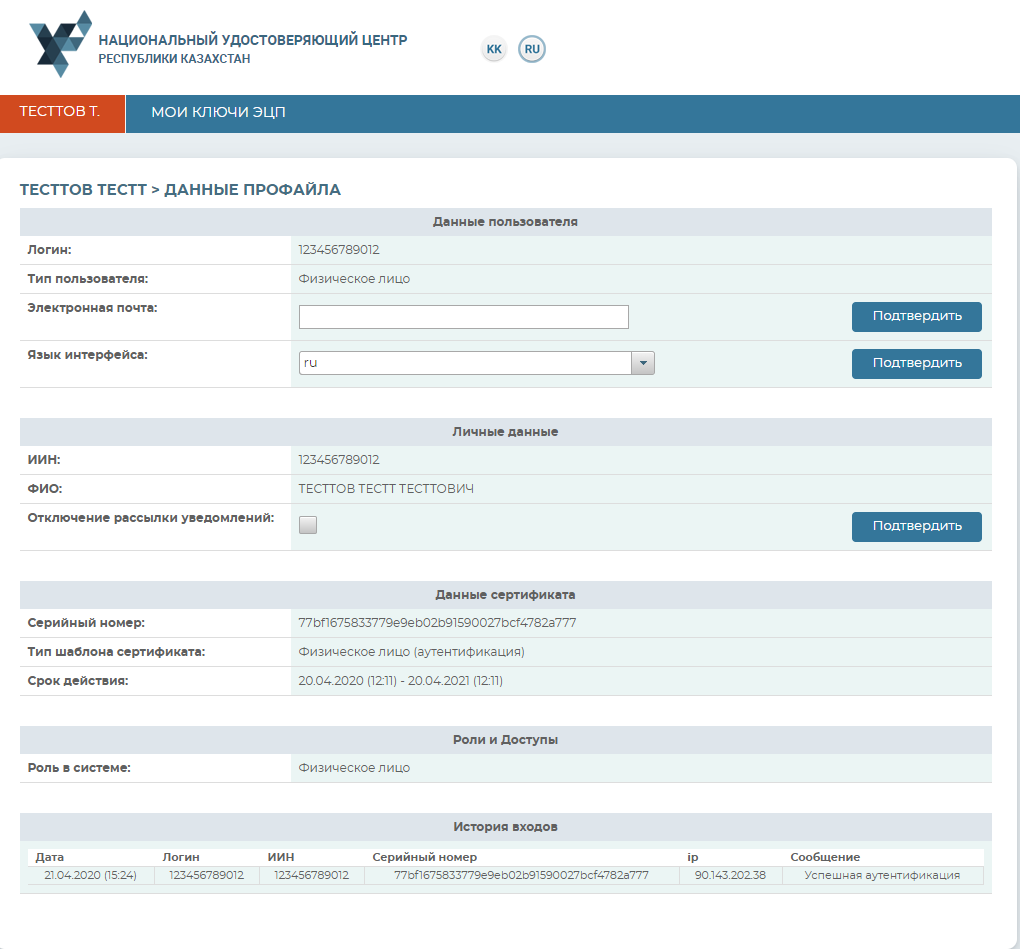
User’s “Family Name” menu contains information on NCA user profile.
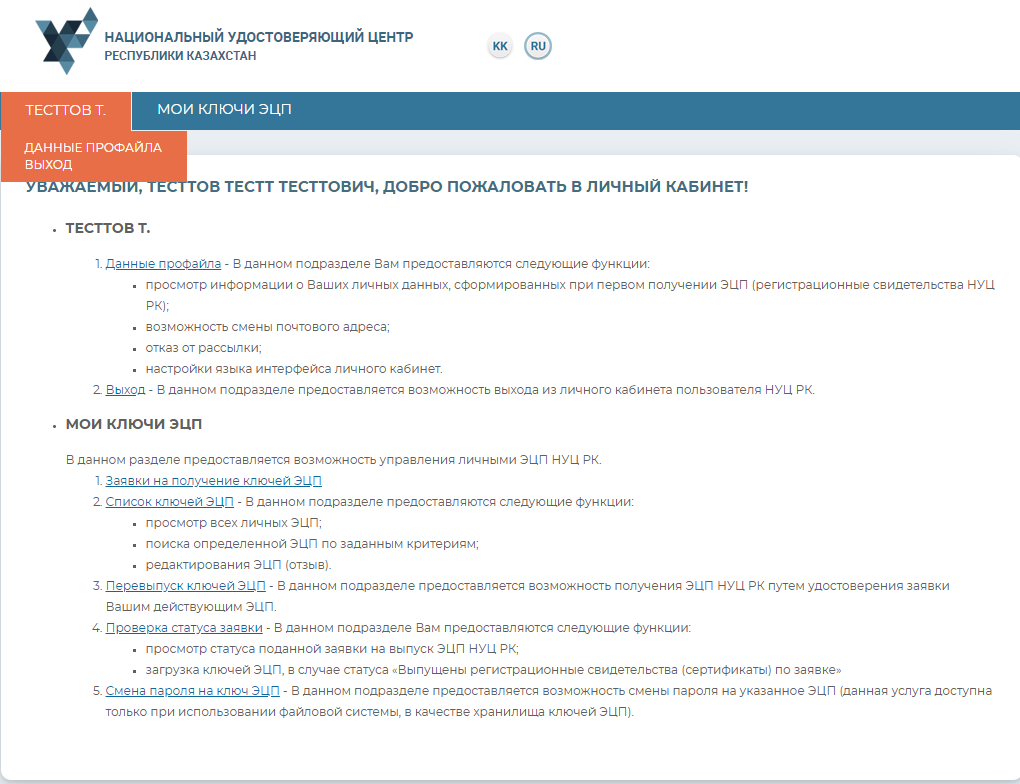
The profile data contains user’s personal information. In the settings, you may select the interface language, as well as cancel the receipt of notifications to your email.
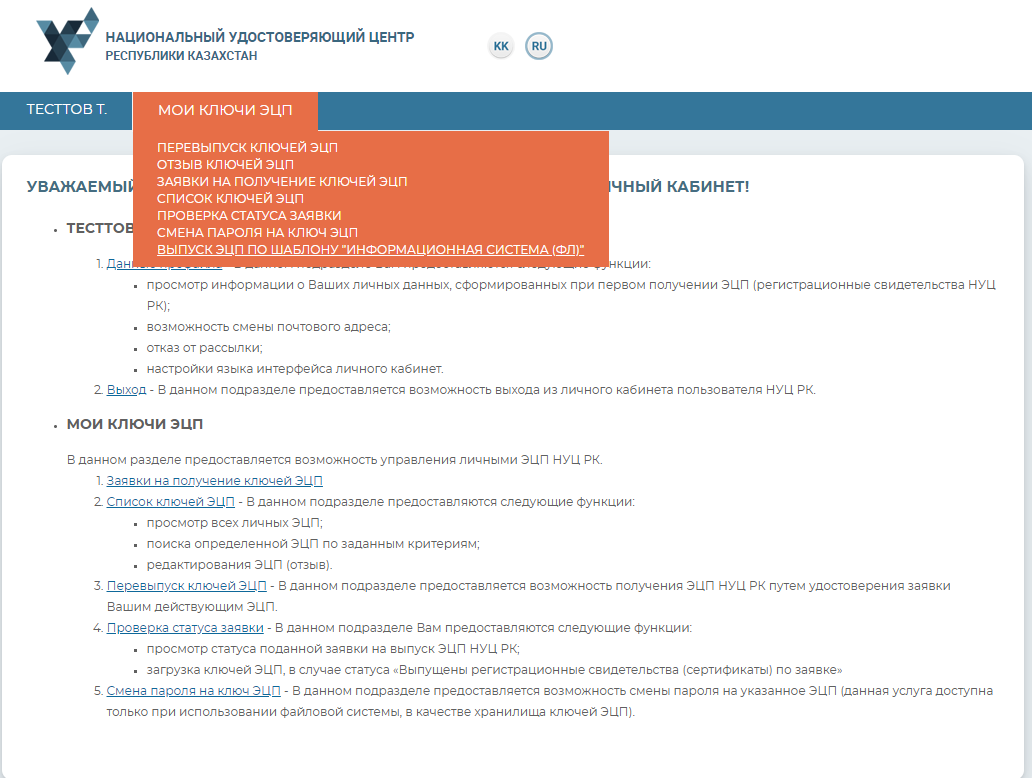
“My Digital Signature Keys” Menu
To work with digital signature keys, go to the “My digital signature keys” tab.
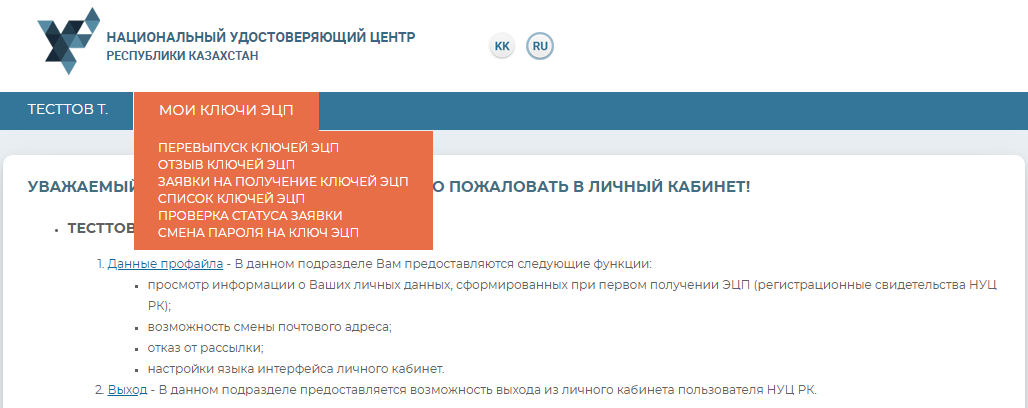
In the drop-down menu, select one of the below subsections:
• Digital signature keys renewal – provides capability of submitting an application online (subject to availability of effective keys), with no need to validate the application in Registration Authority; • Digital signature keys revocation – provides capability of revoking the certificates; • Application for digital signature keys – provides capability of viewing the applications submitted; • List of digital signature keys – displays the existing certificates; • Checking the application status – provides capability of checking the status of the application submitted and of setting the certificates; • Change of digital signature key password – provides capability of changing the password for digital signature keys.
Applications for Digital Signature Keys
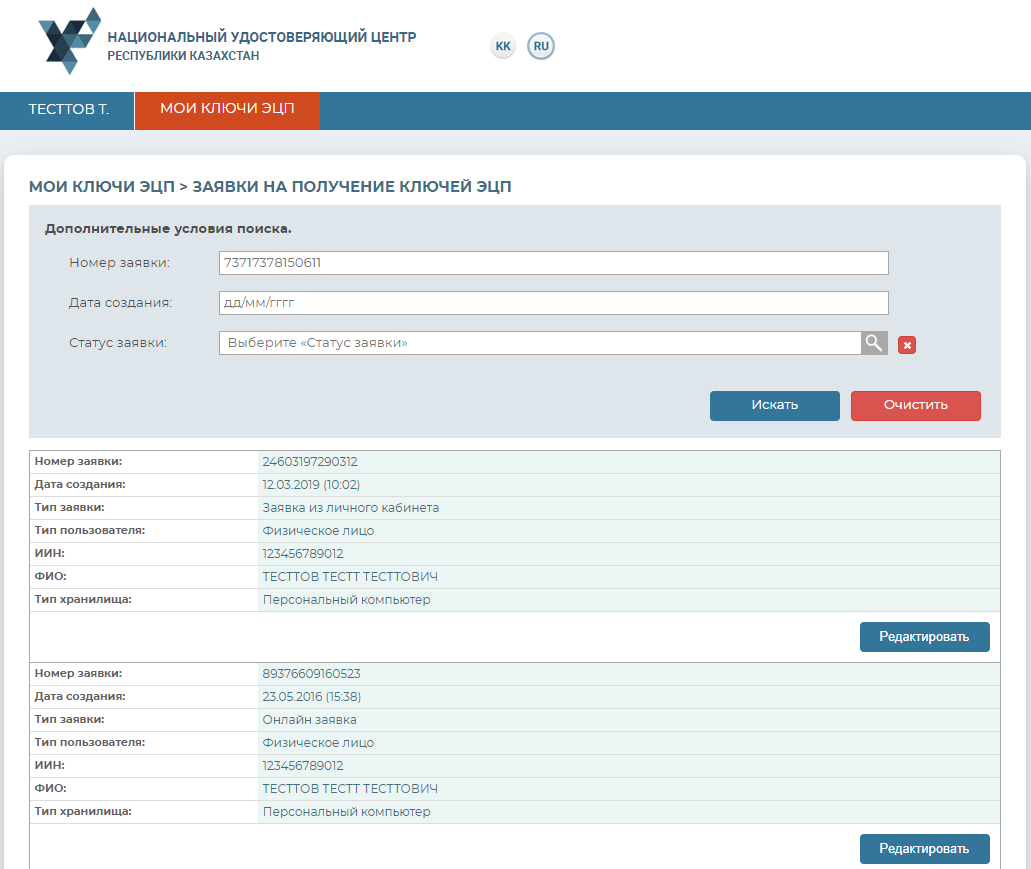
Select from the drop-down menu the “Applications for digital signature keys” section. In this section, you can view all the submitted applications for issuance of digital signature keys. In the new window, all the user’s applications for digital signature keys will be displayed.
In the event that you have submitted the application via pki.gov.kz in the “Services” section (which section is not a Personal Account’s functionality), you may confirm this application without applying to Registration Authority.
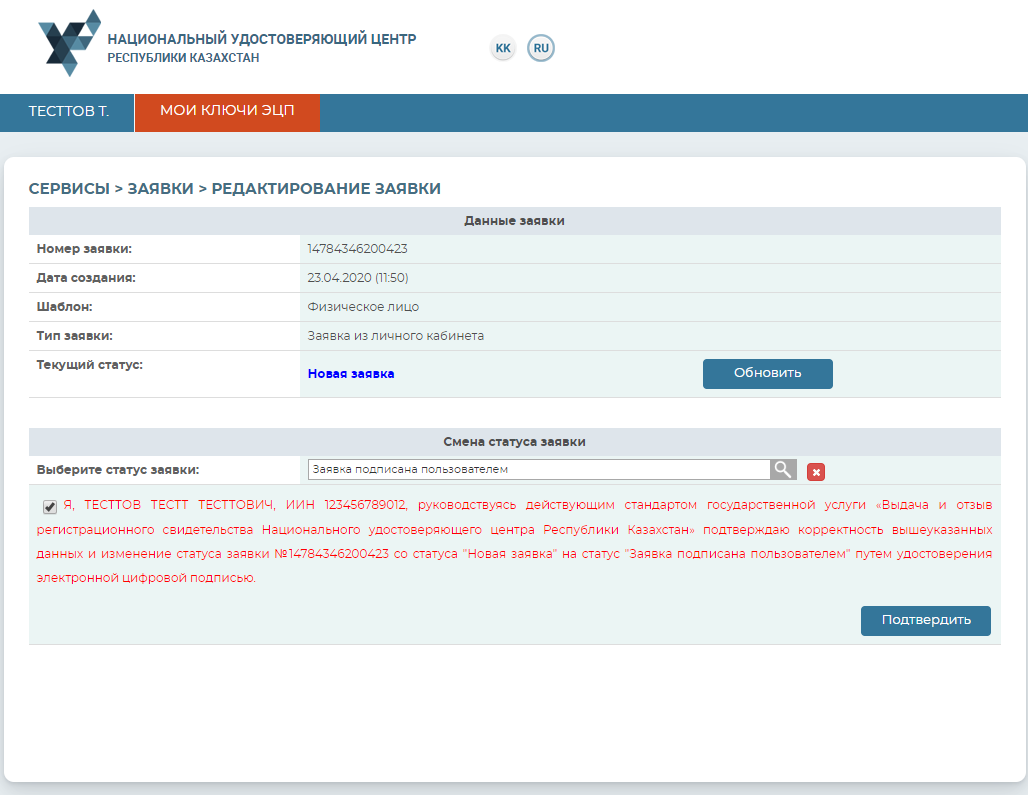
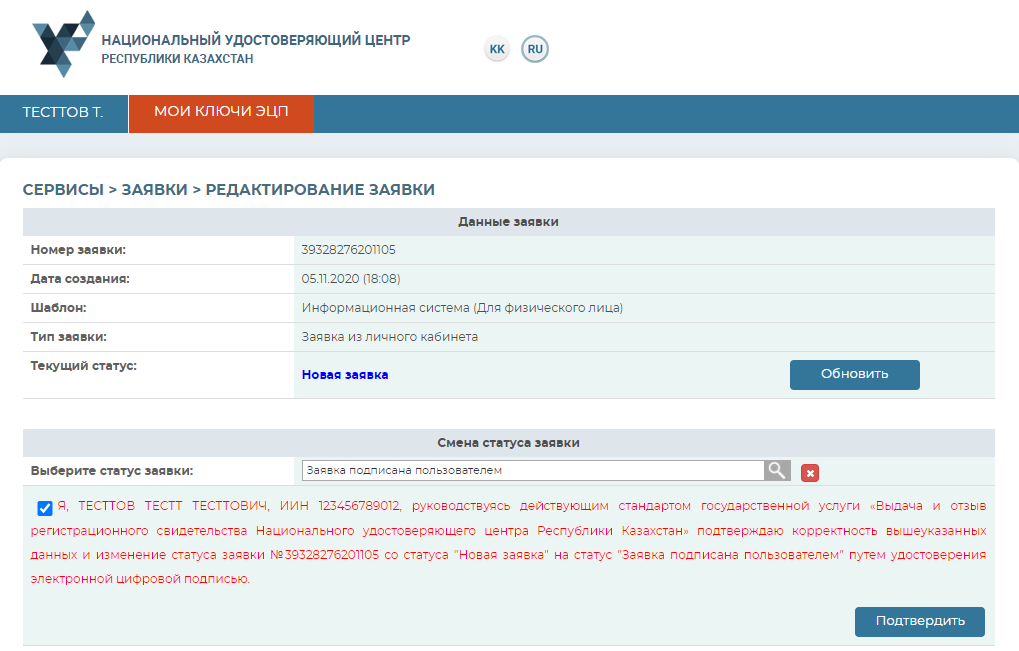
To do so, find the required application and press the “Edit” button.
In the window opened, select the application status.
Tick the box stating your consent to changing the application status and press the “Confirm” button.
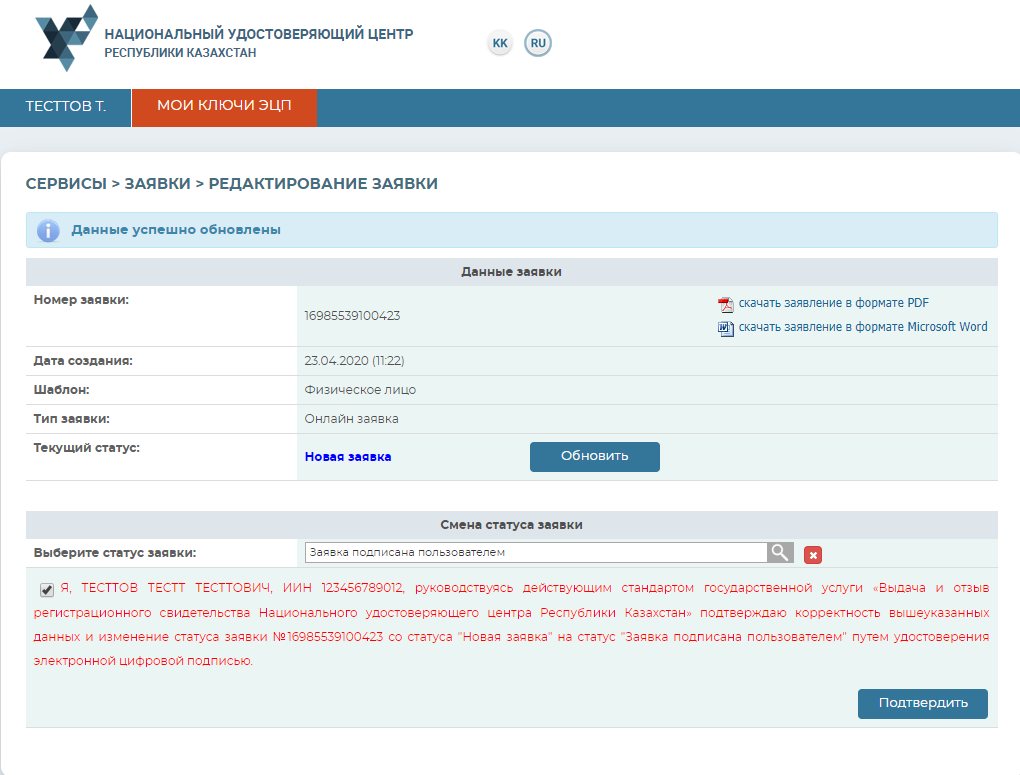
The application validation procedure is completed.
Checking the Application Status
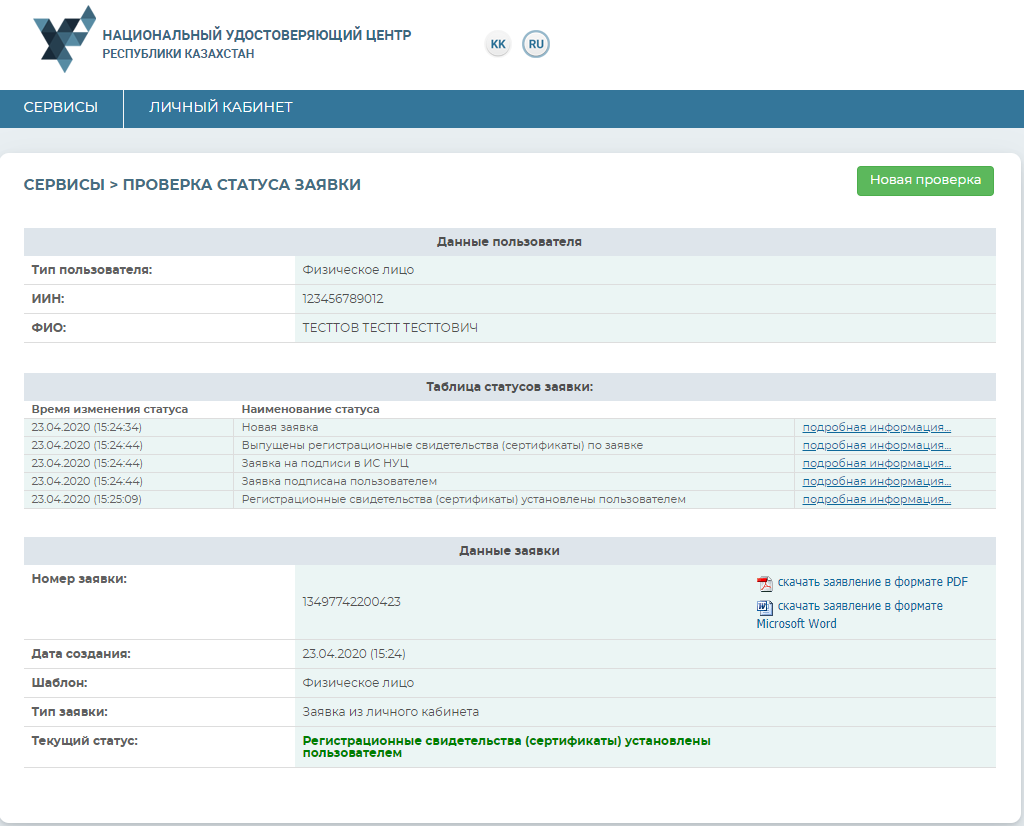
Upon confirming the application, open the “My digital signature keys” menu, and go to “Checking the application status” section.
Enter the application number and press the “Search” button.

To set up the certificates, please indicate the folder where your private keys were stored and press the search icon. Indicate the storage place of your private keys generated at the time you submitted the application and press the “Open” button.
NB! In the event that in setting up the certificates, the keys were generated to one of the supported secure media: eToken 72K, JaCarta, Kaztoken, AKey, you should connect the device to the PC.
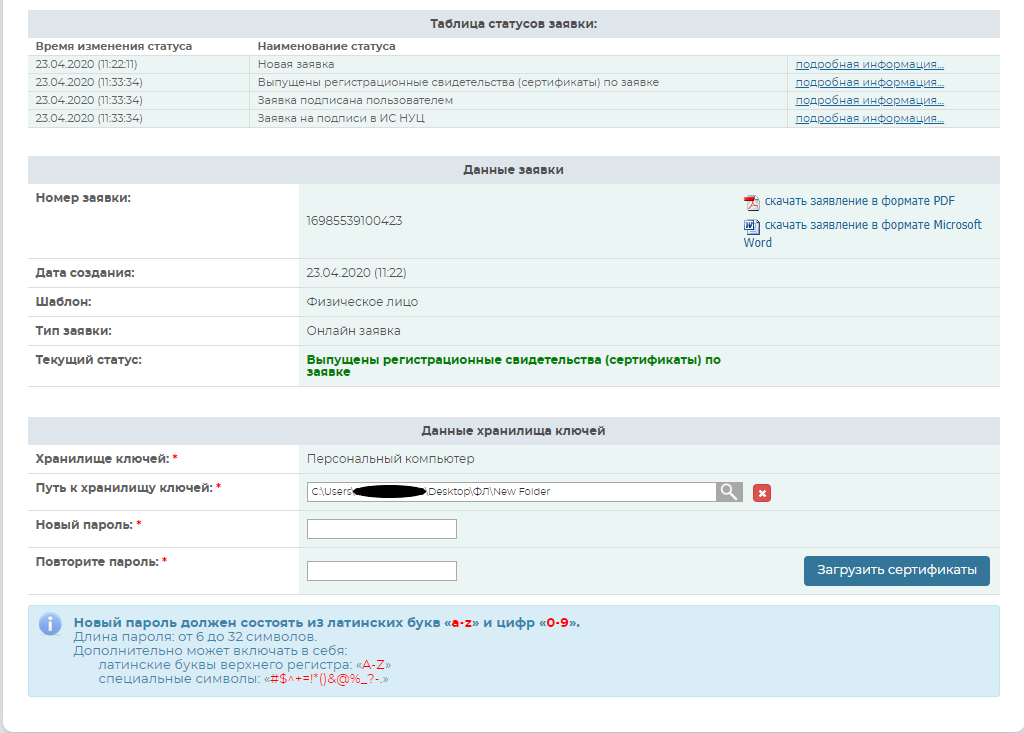
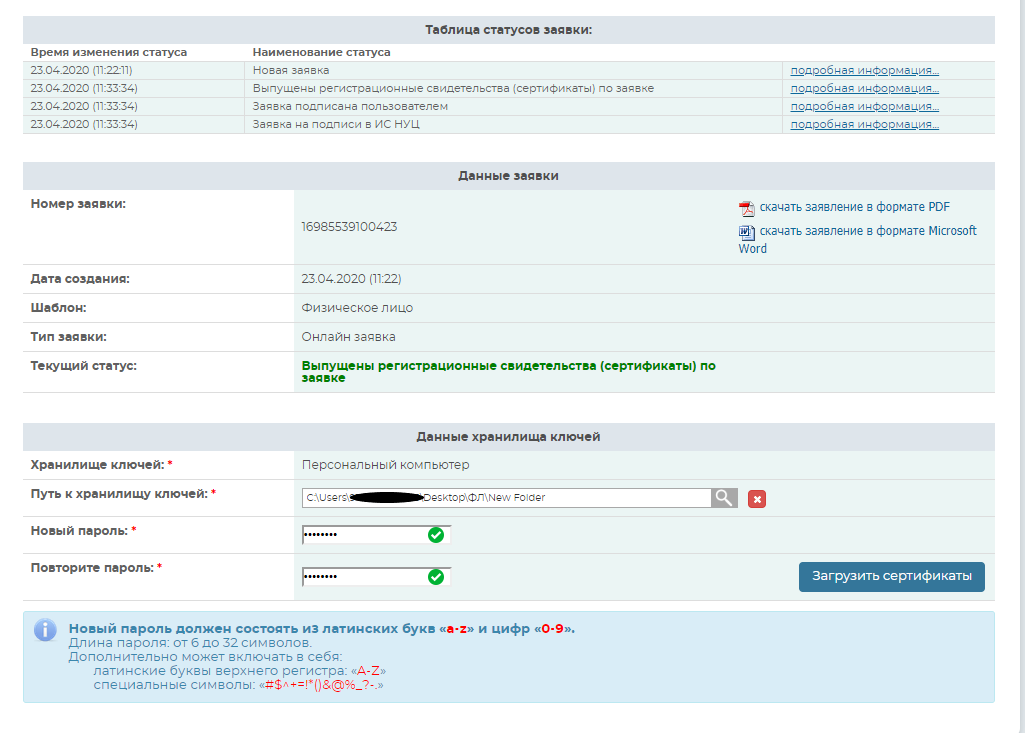
If you use the PC as keys repository, the fields for password will appear. Invent and enter your password for digital signature keys and press the “Upload certificates” button.
NB! Password must contain Latin characters and digits. The password length should be 6 to 32 characters. In addition, password may include: Latin upper-case letters and wildcard characters «#$^+=!*()@%&_?-.».
You MUST remember the password you indicated! The password shall NOT be recovered! NCA shall not keep your password, and if you lose your password, these digital signature keys must be revoked.
Press the “Upload certificates” button. The window will appear informing of the successful setting of the certificates.
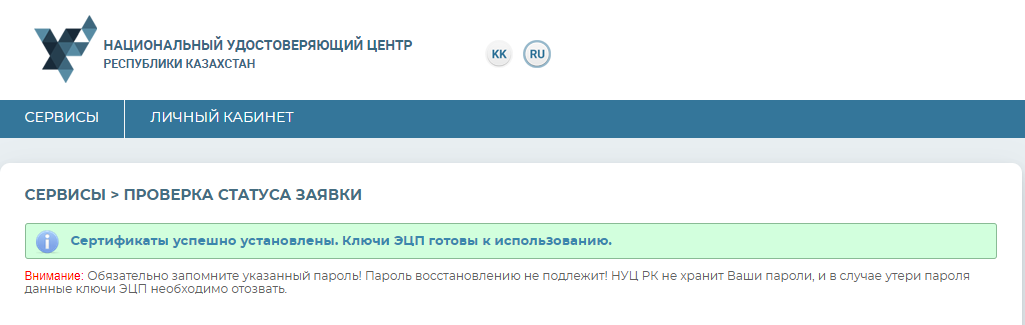
Certificates have been set up.
Digital Signature Keys Renewal
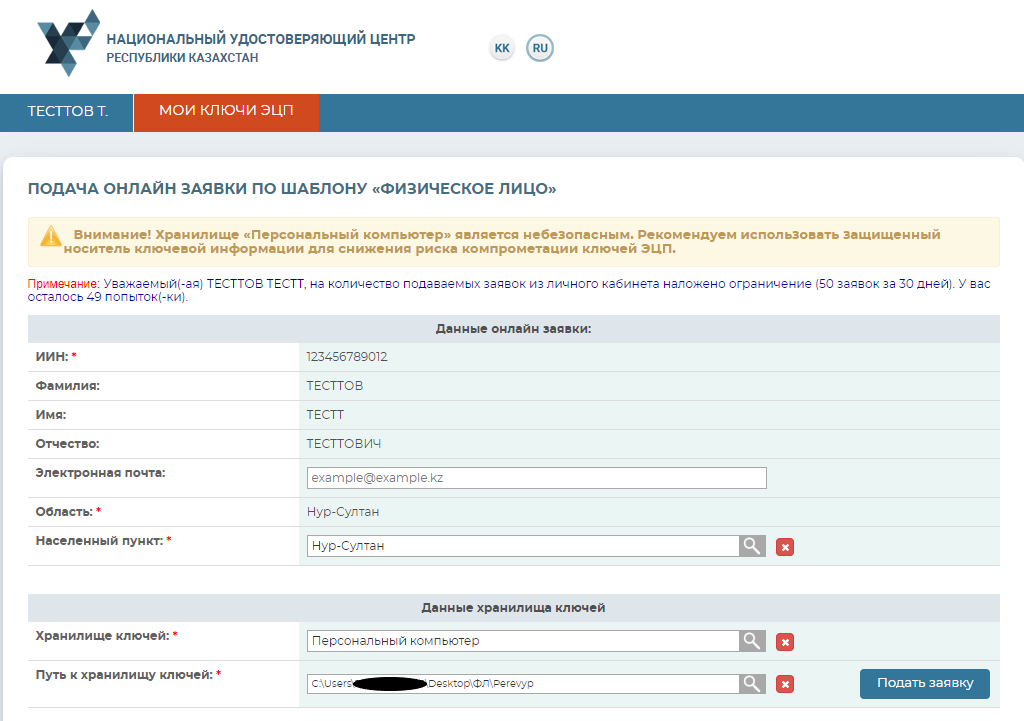
In this section, you may submit your application online ((subject to availability of effective digital signature keys), with no need to validate the application in Registration Authority.
The main fields will be filled in automatically, in line with the already existing certificate.
Indicate the email, the locality, the keys repository and the Path to repository.
Press the “Submit application” button.
Tick the box for confirmation of correctness of the application under submission and press the “Confirm” button.
NB!The “Personal Computer” repository is insecure. We recommend using the secure key information media to reduce the risk of compromising the digital signature keys.
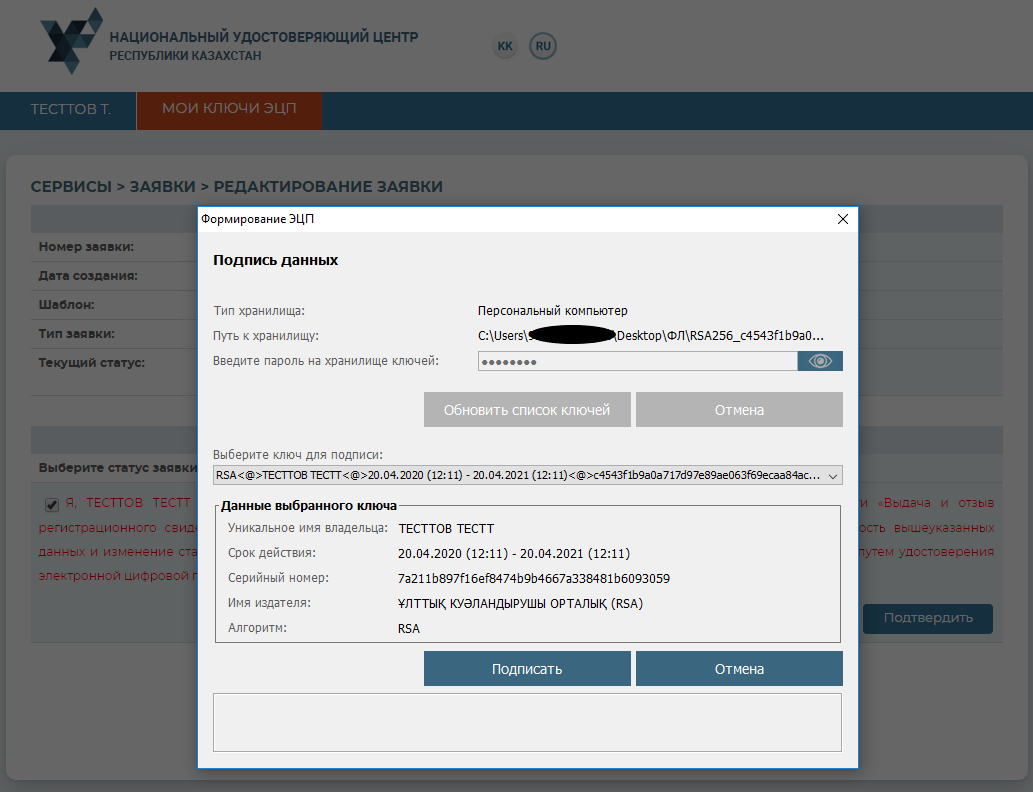
Enter the password and press the “Sign” button.
Remember the application number.
Using this number, install the certificates via the “Status of application submitted” section.
Renewal of digital signature keys has been successfully completed.
Digital Signature Keys Revocation
In the drop-down menu, select the “Digital signature keys revocation” section.
In the new window, all the existing certificates to the individual will be displayed, with the current status indicated.
To revoke the certificate, select from the list the required certificate and press the “Edit” button.
Specify the keys repository.
Indicate the path to the digital signature key for signing (RSA).
Enter the password.
To revoke the certificate, indicate the reason for revocation selected from the provided list.
Tick the box stating your consent to the actions being taken and press the “Revoke” button.
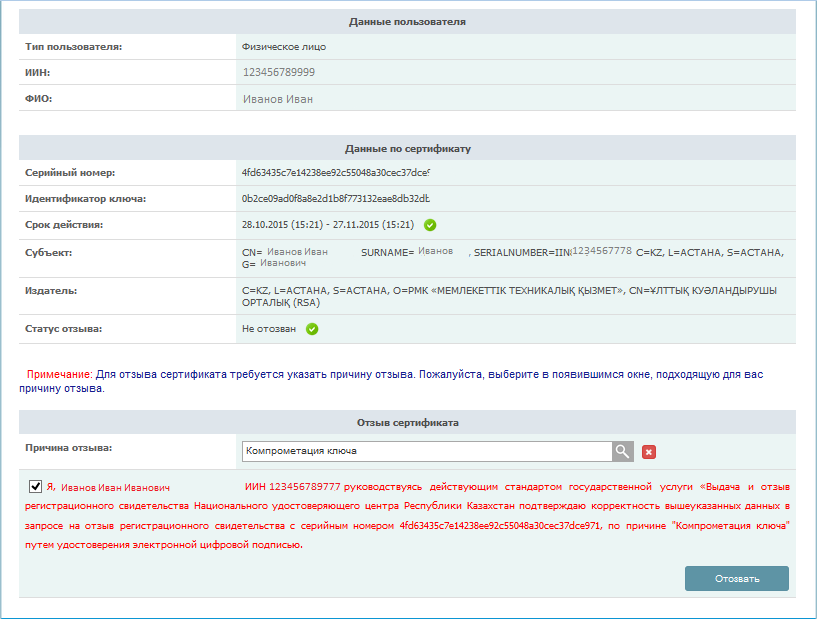
Sign with the digital signature keys (RSA).
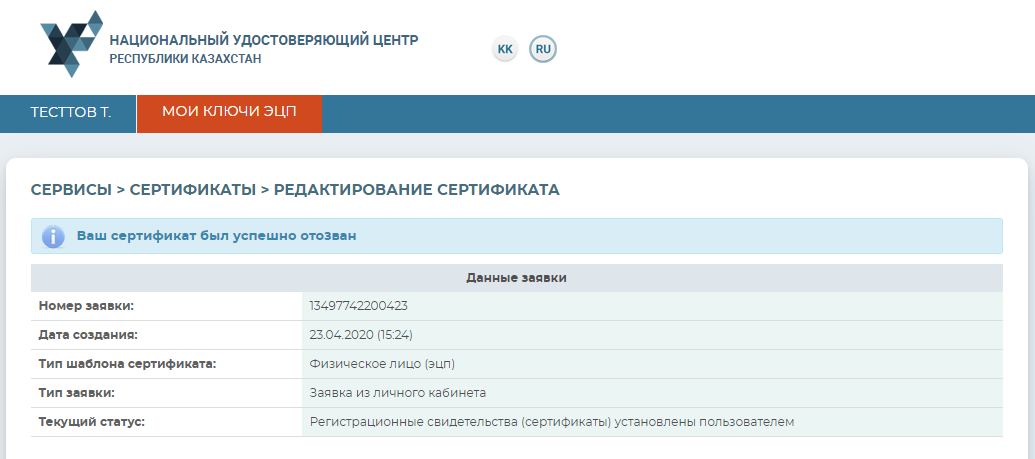
The certificate revocation procedure is completed.
List of Digital Signature Keys
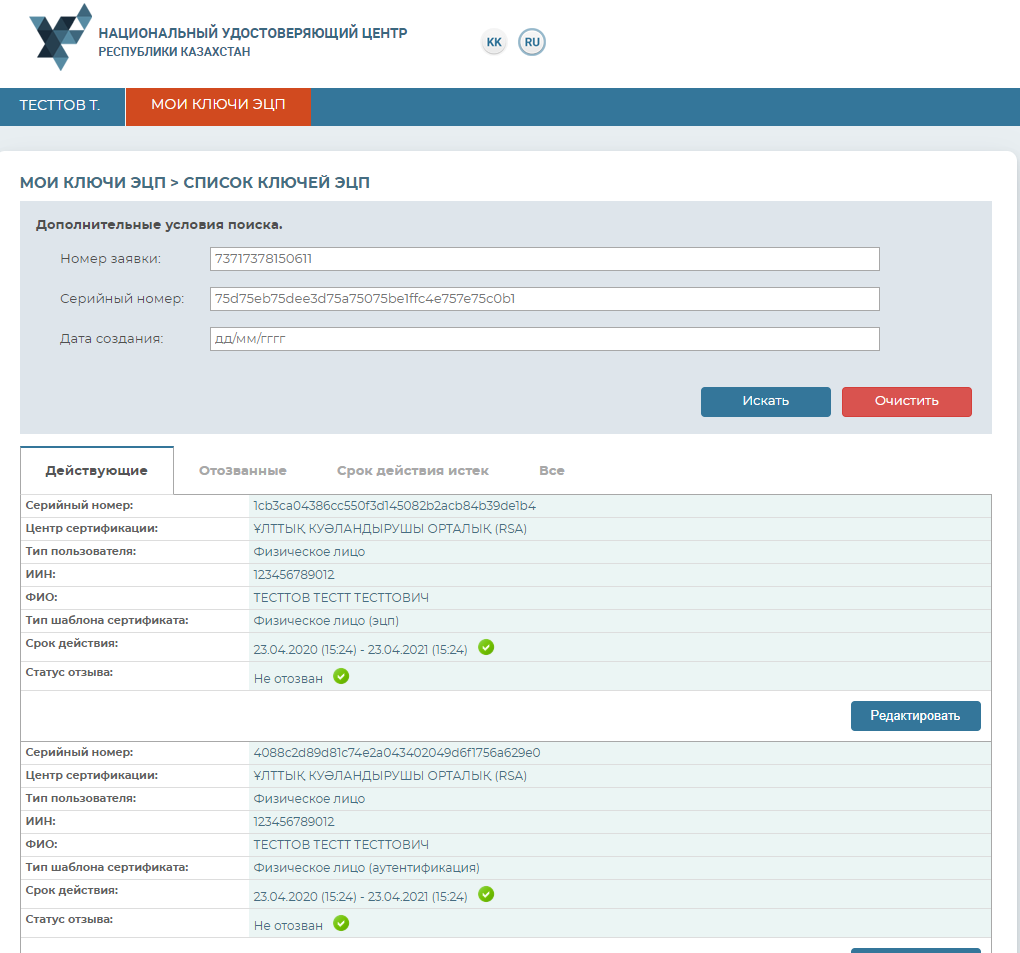
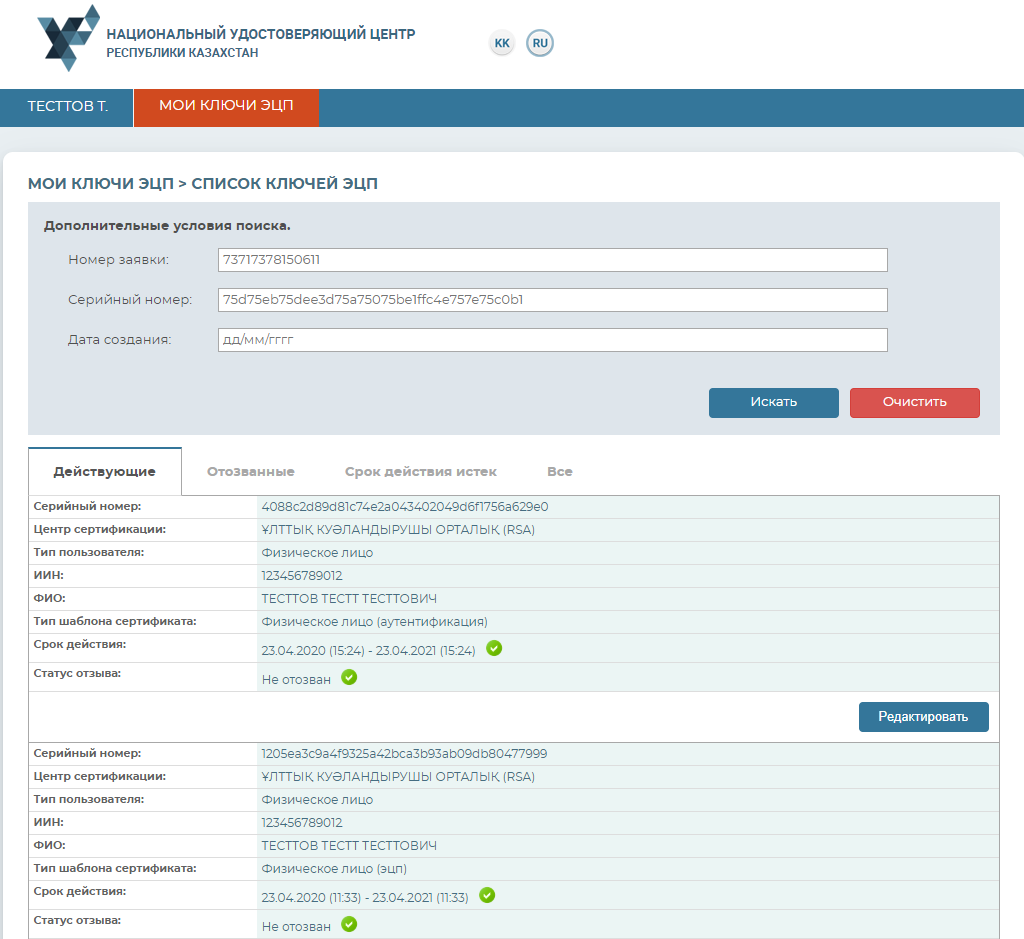
In the drop-down menu, select the “List of digital signature keys” section.
In the new window, all the existing certificates to the individual will be displayed, with the current status indicated. There is also the function of separate display of list of digital signature keys by the following statuses: effective, revoked, and expired ones.
Change of Digital Signature Keys Password
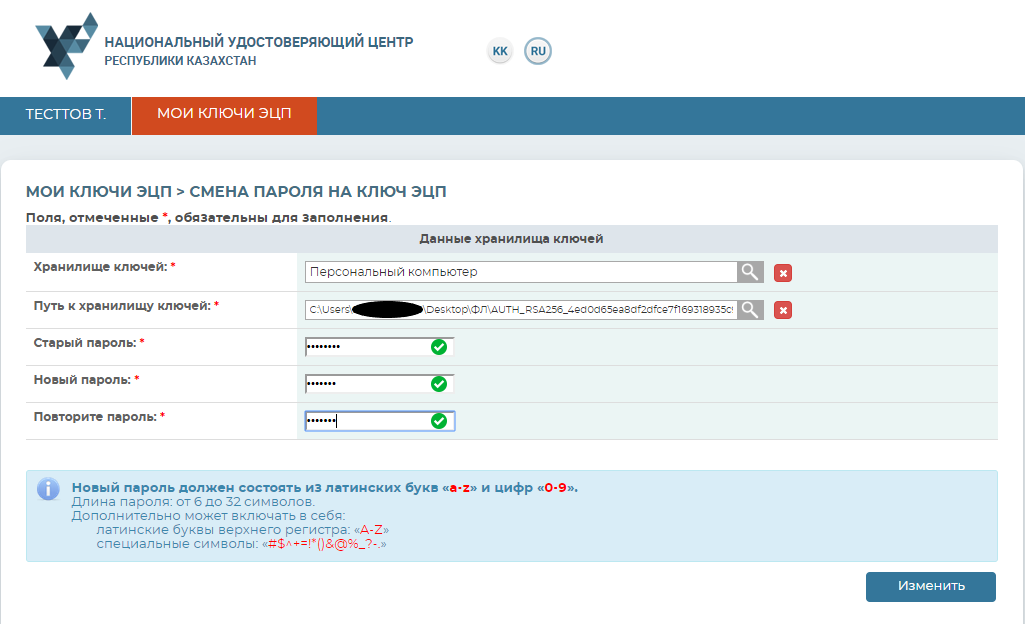
To change your digital signature keys password, you need to go to the “Change of digital signature key password” section. In the opened window, indicate the location of your keys in the “Keys Repository” field.
Important! In the “Keys Repository” field, if you indicate the secure media then the password shall be set up directly to the secure media. In the event that you indicate your PC in the “Keys Repository” field, then the password will be set up directly to the digital signature keys.
Specify the “Path to keys repository”. Fill in the field for password entering and press the “Change” button. If you select the “Personal Computer” repository, then indicate digital signature key for the password to be changed. The password change procedure must be performed separately for each key.
NB! NCA shall not keep your password. Lost digital signature keys may not be recovered.
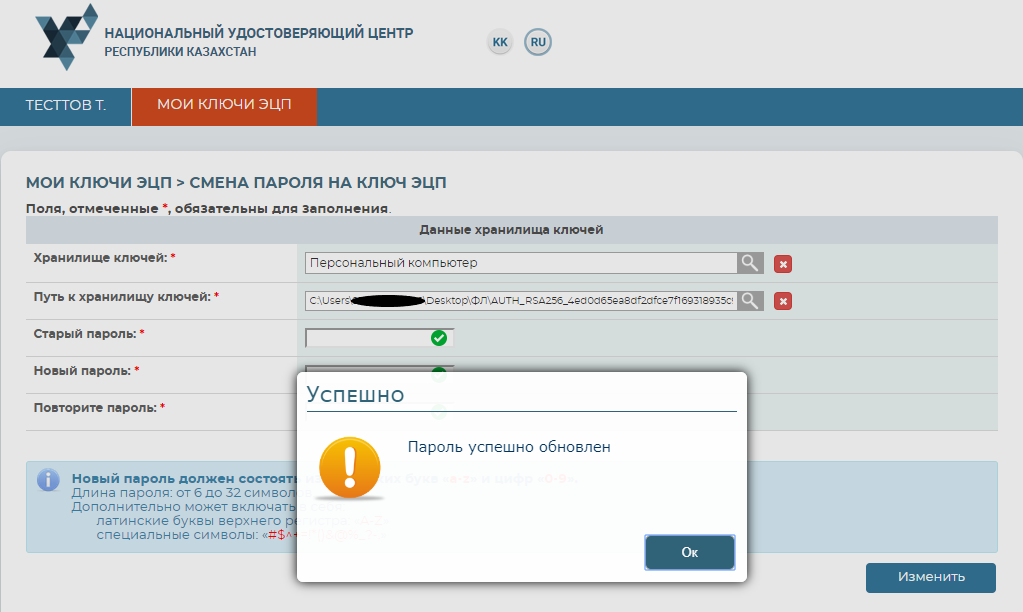
The password has been successfully changed.
Issuance of digital signature by a template “Information System (Individuals)”
To submit an application for obtainment of digital signature keys by a template “Information system (Individuals)”, you need to go to “My digital signature keys” menu item, then select the section “Issuance of digital signature by a template “Information System (Individuals)”.
Then, verify using «RSA» keys for signing.
After signing, you need to fill in the required fields: "Select IS and indicate a path to keys storage”.
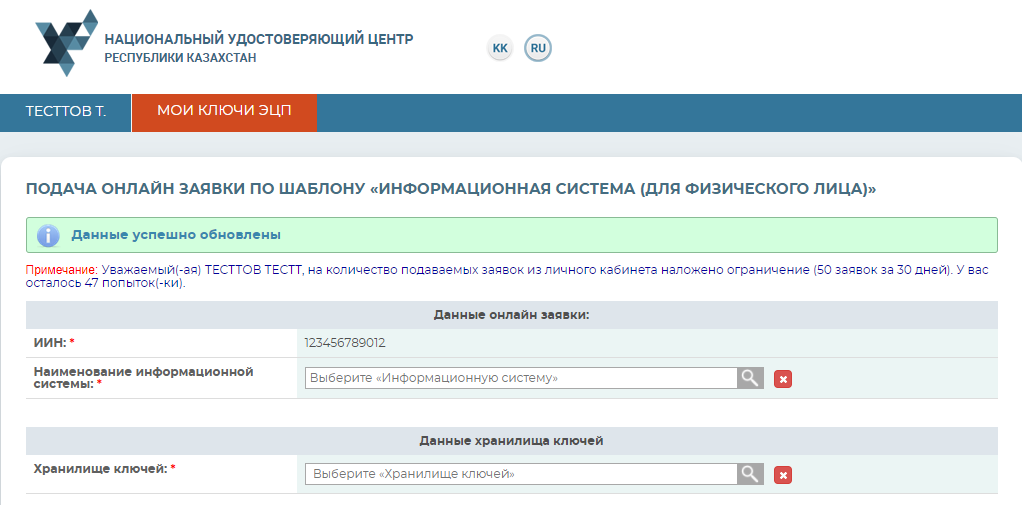
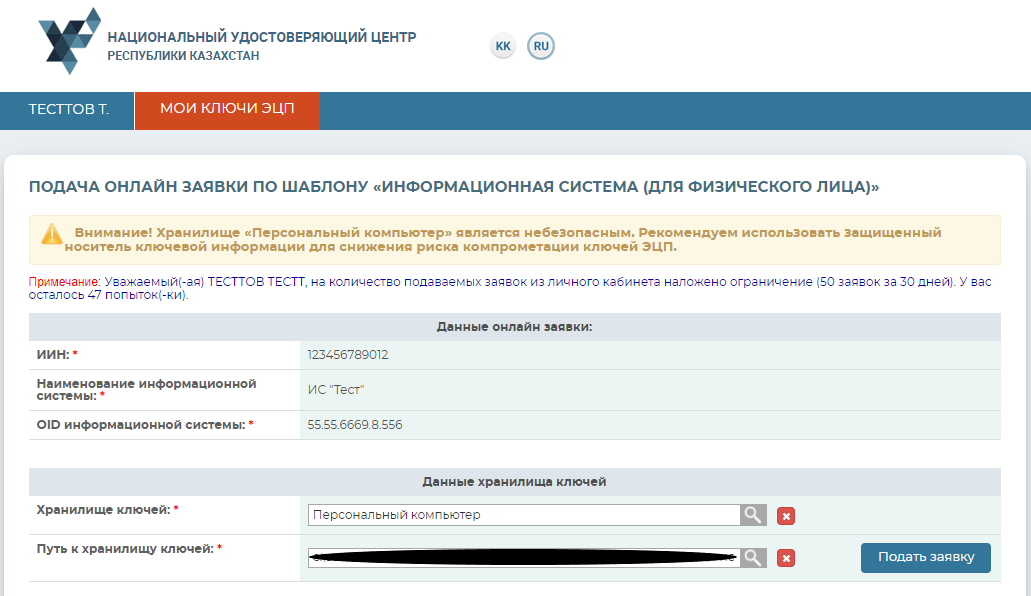
Note! In case if there is nothing in “Name of Information System” field, it means that no information system (IS) is registered to your BIN. You need to register your IS by obtaining an object identifier (OID) pursuant to the Rules for registration, re-registration and cancelation of object identifiers in Kazakhstani segment of object identifiers No. 281 as of March 17, 2016 (adilet.zan.kz). After OID assignment, repeat the procedure, your information system will be available for obtainment of registration certificates thereto.
After selection of an information system, confirm an application by signing it with «RSA» keys.
Install a password and upload certificates and in doing so complete the procedure of digital signature keys obtainment for IS.

After installation of registration certificates, a window will open with indication of an application status “Certificates have been successfully installed”.
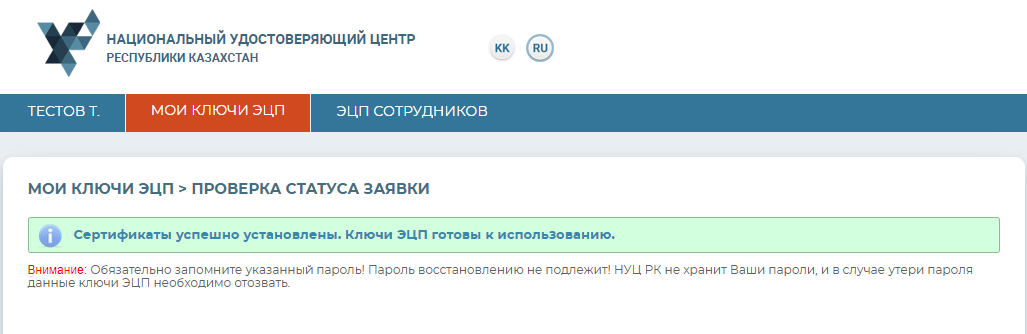
Obtainment of registration certificates has been successfully completed.